Select, group and split a model
You will make: a warrior shape split into Head, Body and Legs, as three separate mesh objects. You will learn: the three select tools, box selection locked to an axis, voxel groups and their hierarchy, Color By Group, and Finalise To Mesh’s One Object Per Group. Time: 10 minutes.
1. Place something to work on
Section titled “1. Place something to work on”- Voxel ▸ New Model: Size 32, Add Voxel Model.
- Press Shift + A and browse to Characters ▸ Warrior. It floats under the mouse; click to drop it onto the floor.
2. The three select tools
Section titled “2. The three select tools”They share one toolbar slot: Q activates it, and pressing again cycles through the three.
| Tool | Straight there | A click takes |
|---|---|---|
| Select Voxels | Q | The box you drag |
| Select Same Colour | Shift + Q | Every voxel of that colour, anywhere |
| Select Group | Alt + Q | Every voxel in that group |
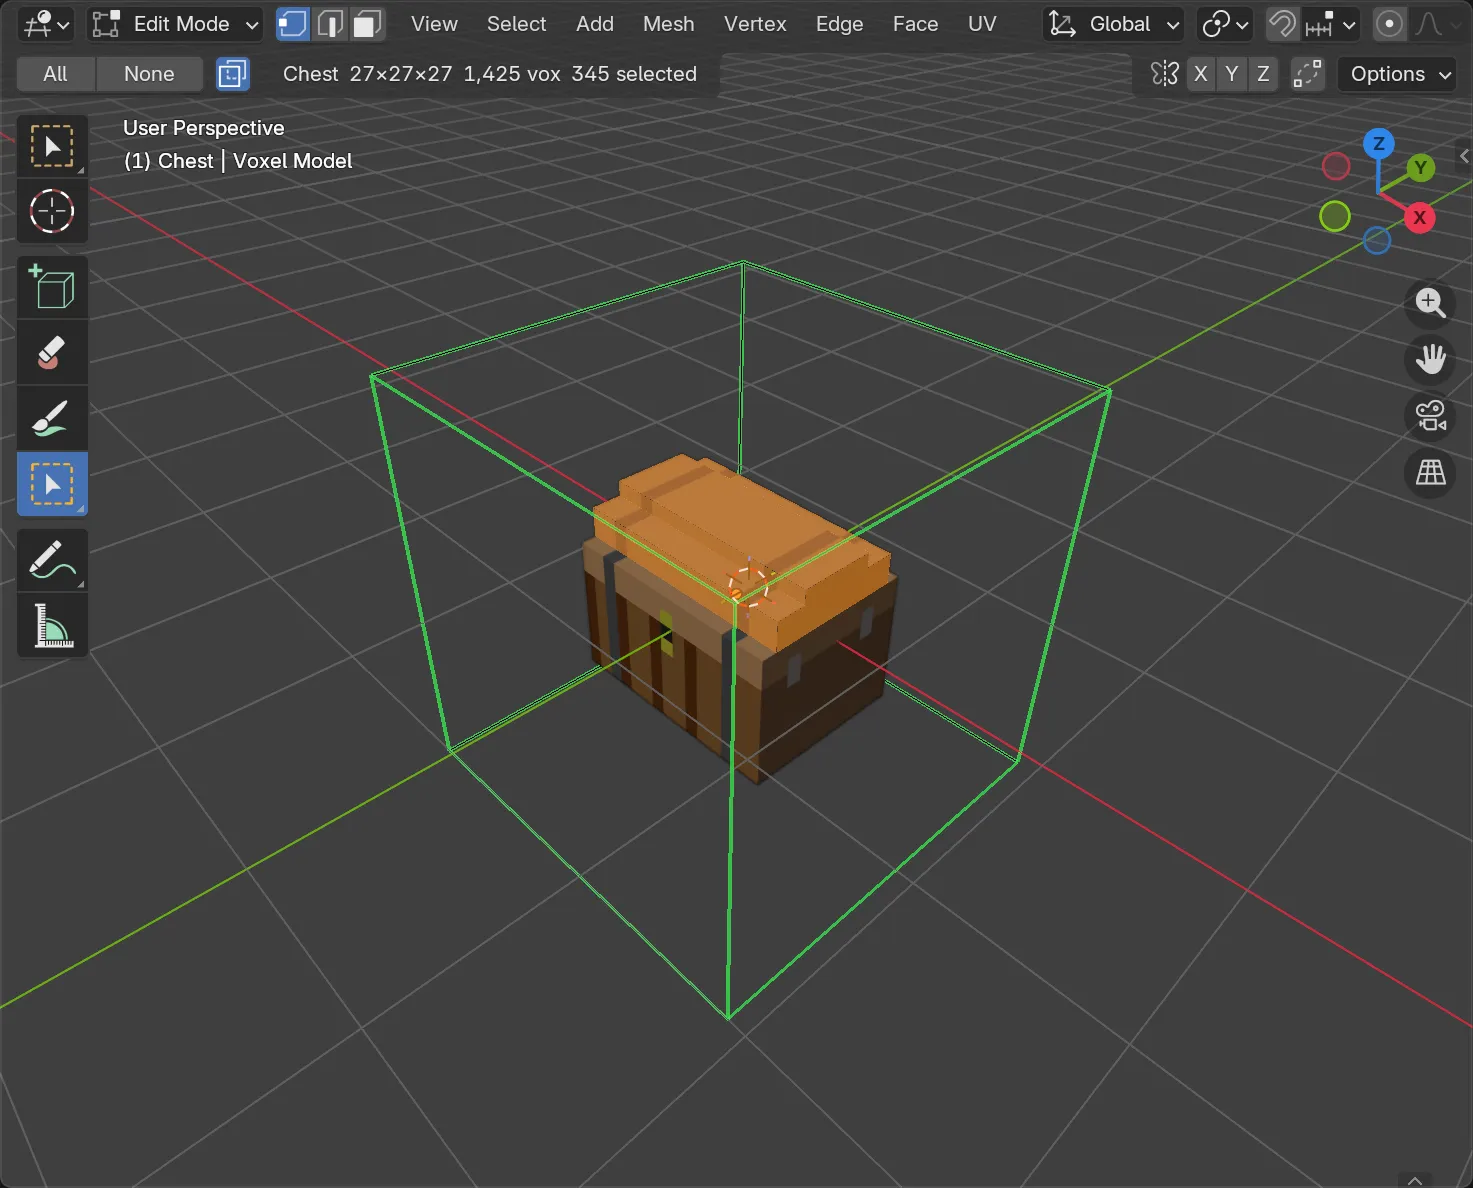
Try each:
- B-drag a box round the head. Tap Z during the drag and the far corner locks to that axis — that’s how a flat drag on the floor becomes a box that reaches up through the model.
- Ctrl + click one voxel of the warrior’s armour: the connected piece under the cursor is selected (the magic wand). Shift adds to a selection, Alt + Shift subtracts.
- Shift + Q, then click the blade: every voxel of that exact colour is selected, wherever it sits on the model.
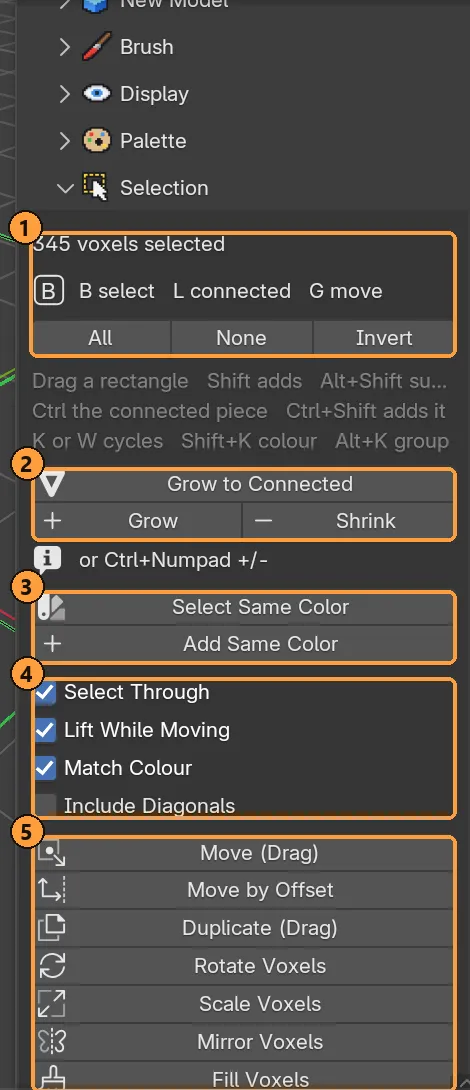
Every gesture above is also a button here: Grow to Connected, Select Same Colour, and Select Through (off shows only the facing surface, handy for repainting one face without grabbing what’s behind it).
3. Naming the parts
Section titled “3. Naming the parts”A voxel group names a part: head, body, legs. You keep building as one model — one palette, everything lined up — and mark where it comes apart.
- B-drag the head and neck. Press Ctrl + G
▸ Assign to New Group, and rename the new row
Headin the Groups panel (Voxel Mode ▸ Groups). - Select the torso and arms. Ctrl + G ▸ Assign to
New Group again, rename it
Body. - Select what’s left below the waist. Assign a third group,
Legs.
Clicking a row in the list highlights that part in its colour without touching your current selection, so you can check a group and still assign what you’re holding.
4. Check it with Color By Group
Section titled “4. Check it with Color By Group”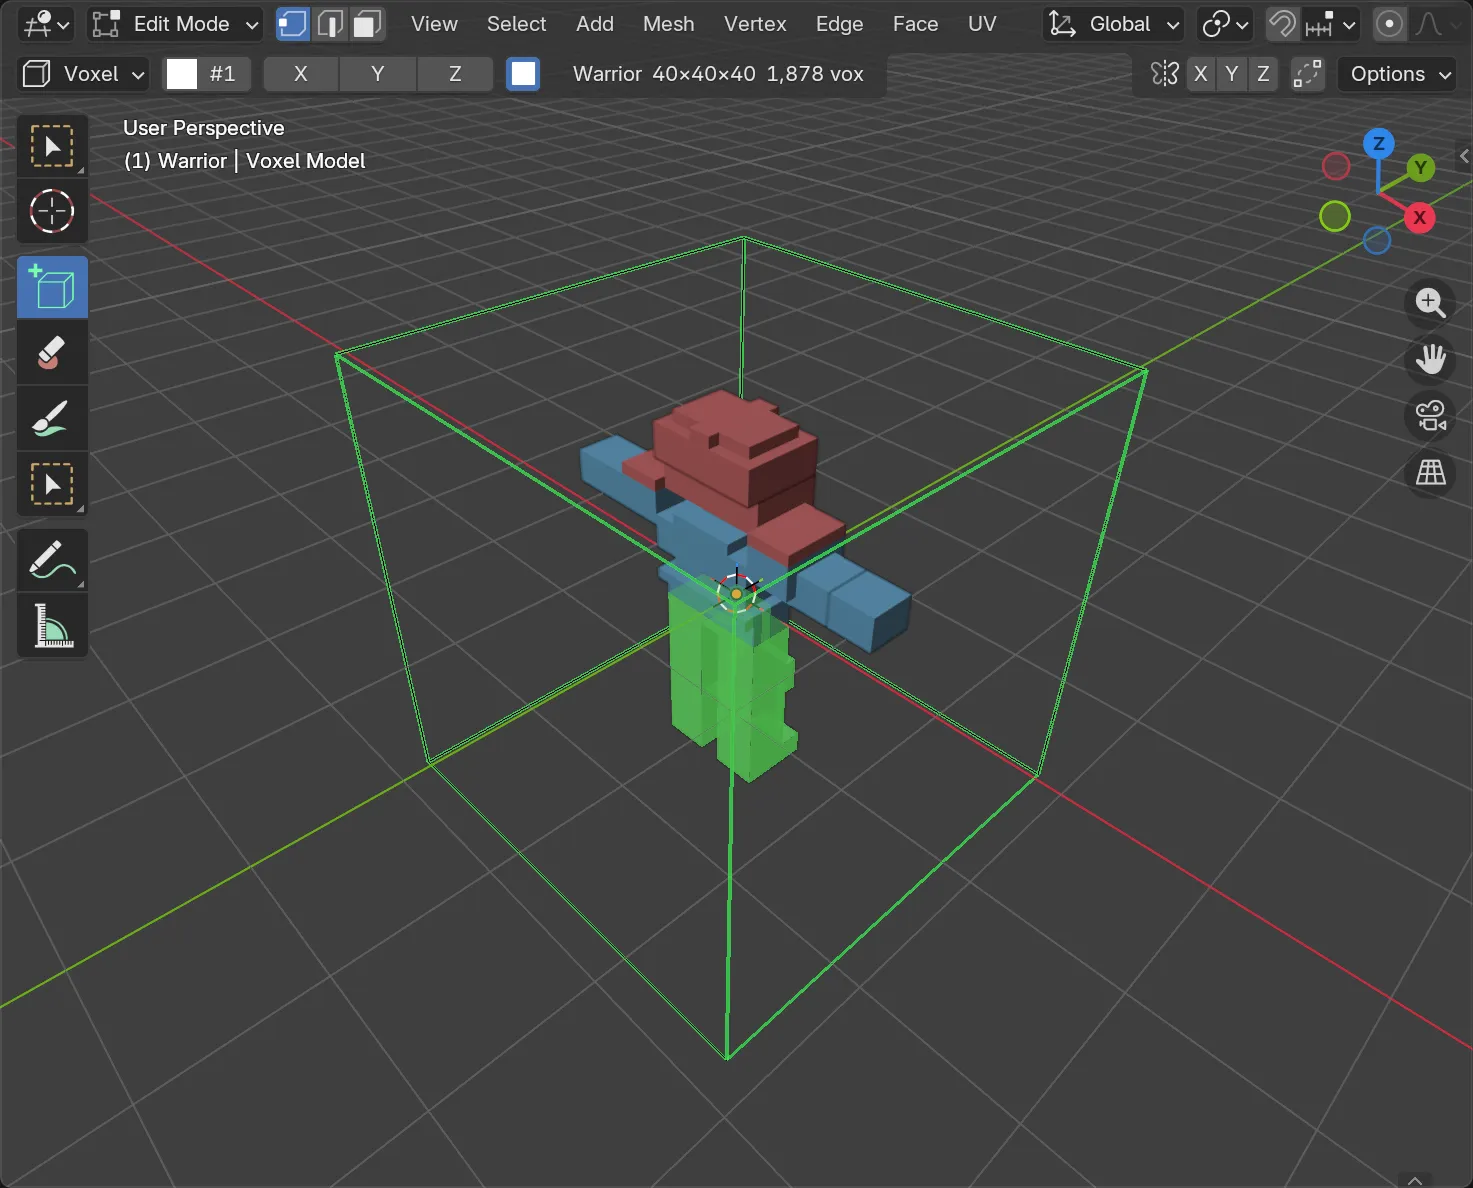
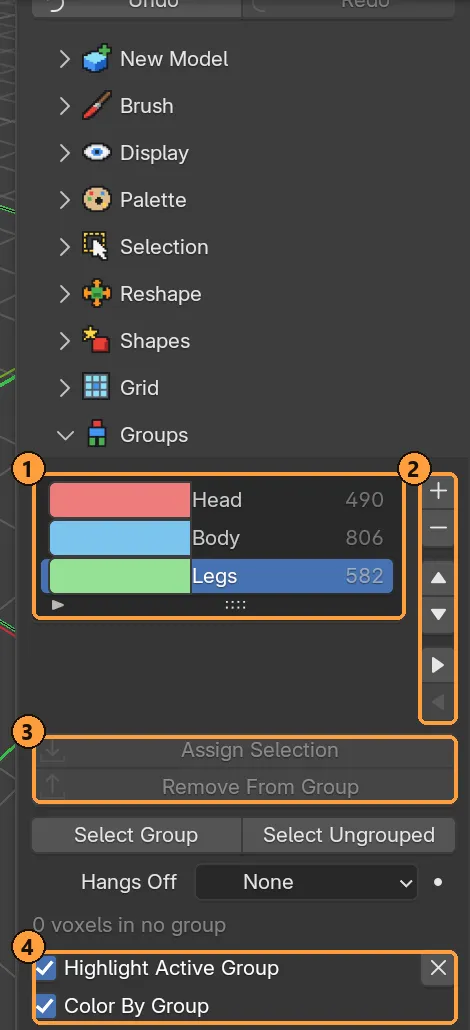
Turn on Colour By Group ④: the whole model repaints by group, with ungrouped voxels in grey. Any grey left over is a voxel you missed — select it (Select Ungrouped in the Ctrl + G menu) and assign it before moving on. Turn Color By Group back off when you’re done checking; it doesn’t touch the model’s real colours.
The list ② also moves rows up and down and indents one under another, for parts that hang off a parent — a hand off a forearm, a forearm off an upper arm. That hierarchy matters for rigid rigs more than for a plain split, so leave everything flat here.
5. Split into parts
Section titled “5. Split into parts”- Press Finalise To Mesh.
- Tick One Object Per Group — it only appears once the model has groups.
- Confirm.
You get one mesh per group, named Warrior_Head, Warrior_Body,
Warrior_Legs, each with its own origin at the centre of its own voxels, so
a gizmo on any one of them means something. Where two parts met, both grow a
closing wall, so each is a closed solid.
Changed your mind? Select the parts and Finalise To Mesh again: Groups From Objects rebuilds one editable model with each part as its group once more.
- Groups, parts and rigid rigs for hierarchies and building a mechanical rig from your own groups.
- Rig and animate a biped — the guided route for a character, which builds its own groups for you.