Rig and animate a biped
You will make: your own character walking, then a custom animation. Time: 20 minutes.
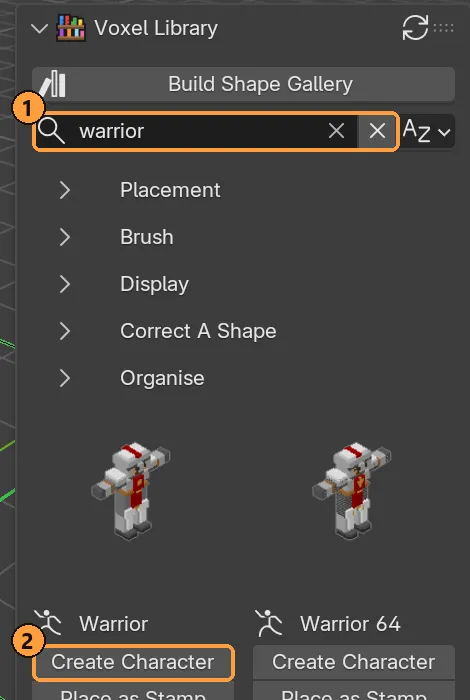
1. Model for rigging
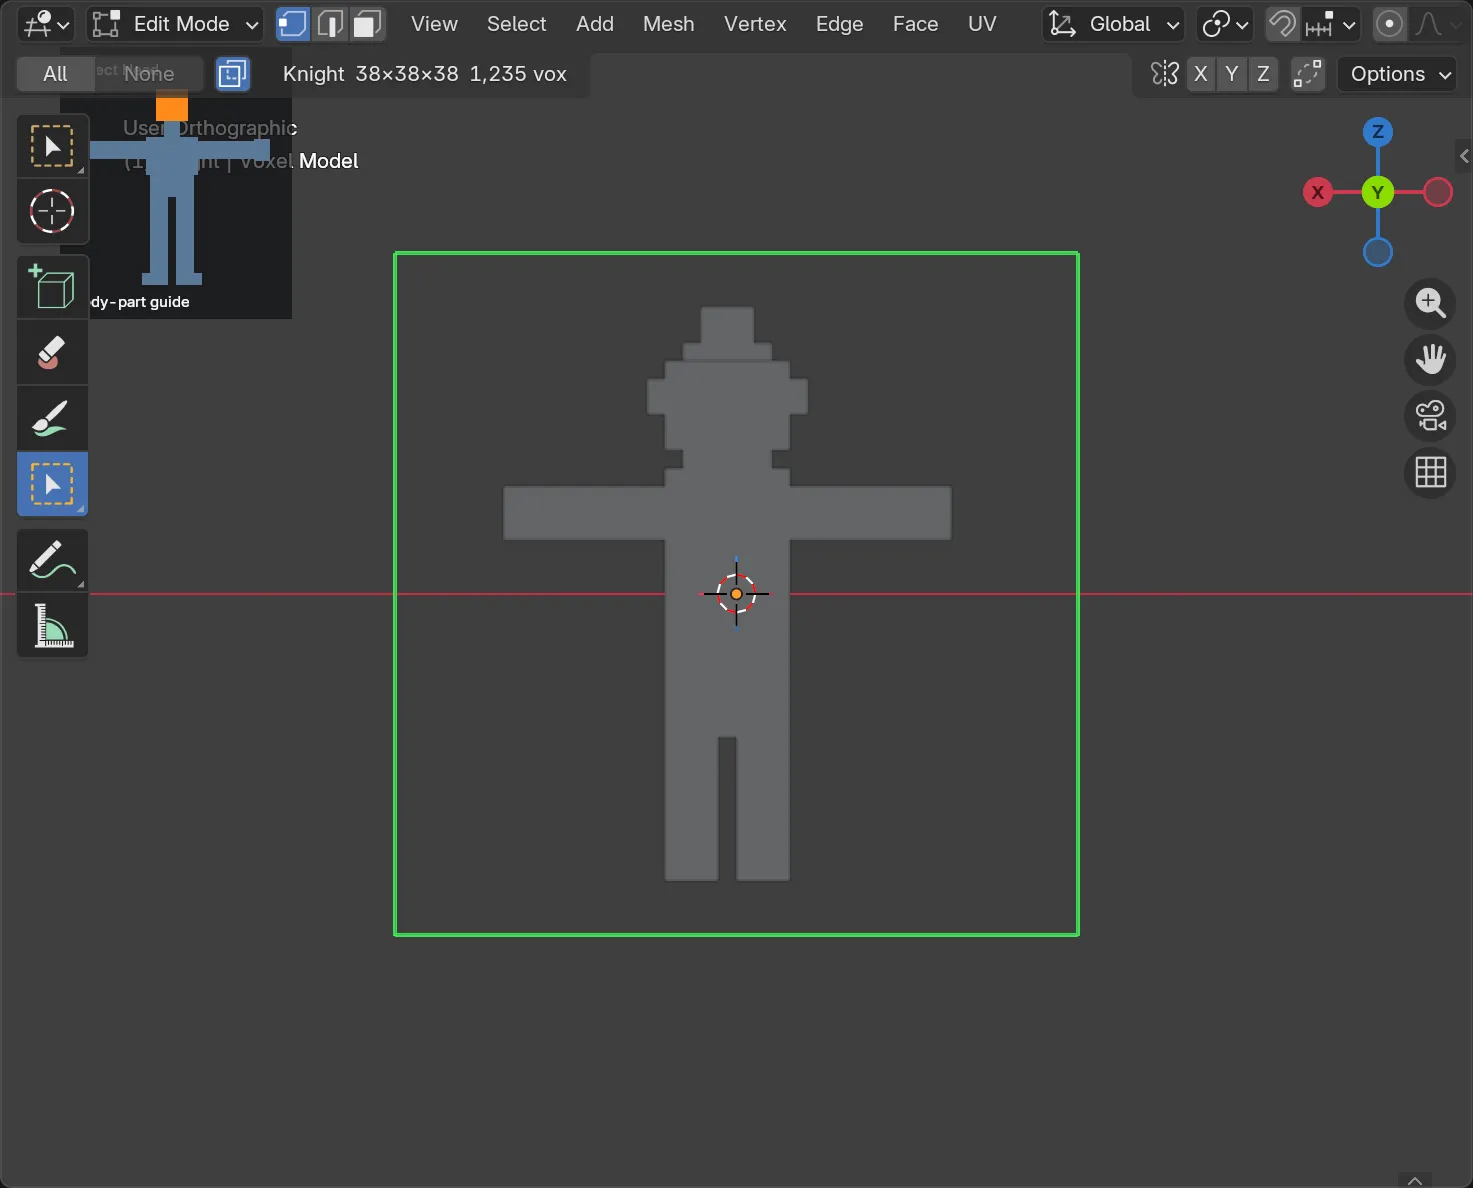
Section titled “1. Model for rigging”The wizard expects:
- a T-pose: arms straight out sideways, legs apart;
- facing +Y, with Z up;
- a separate neck, hands and feet, at least a voxel of each.
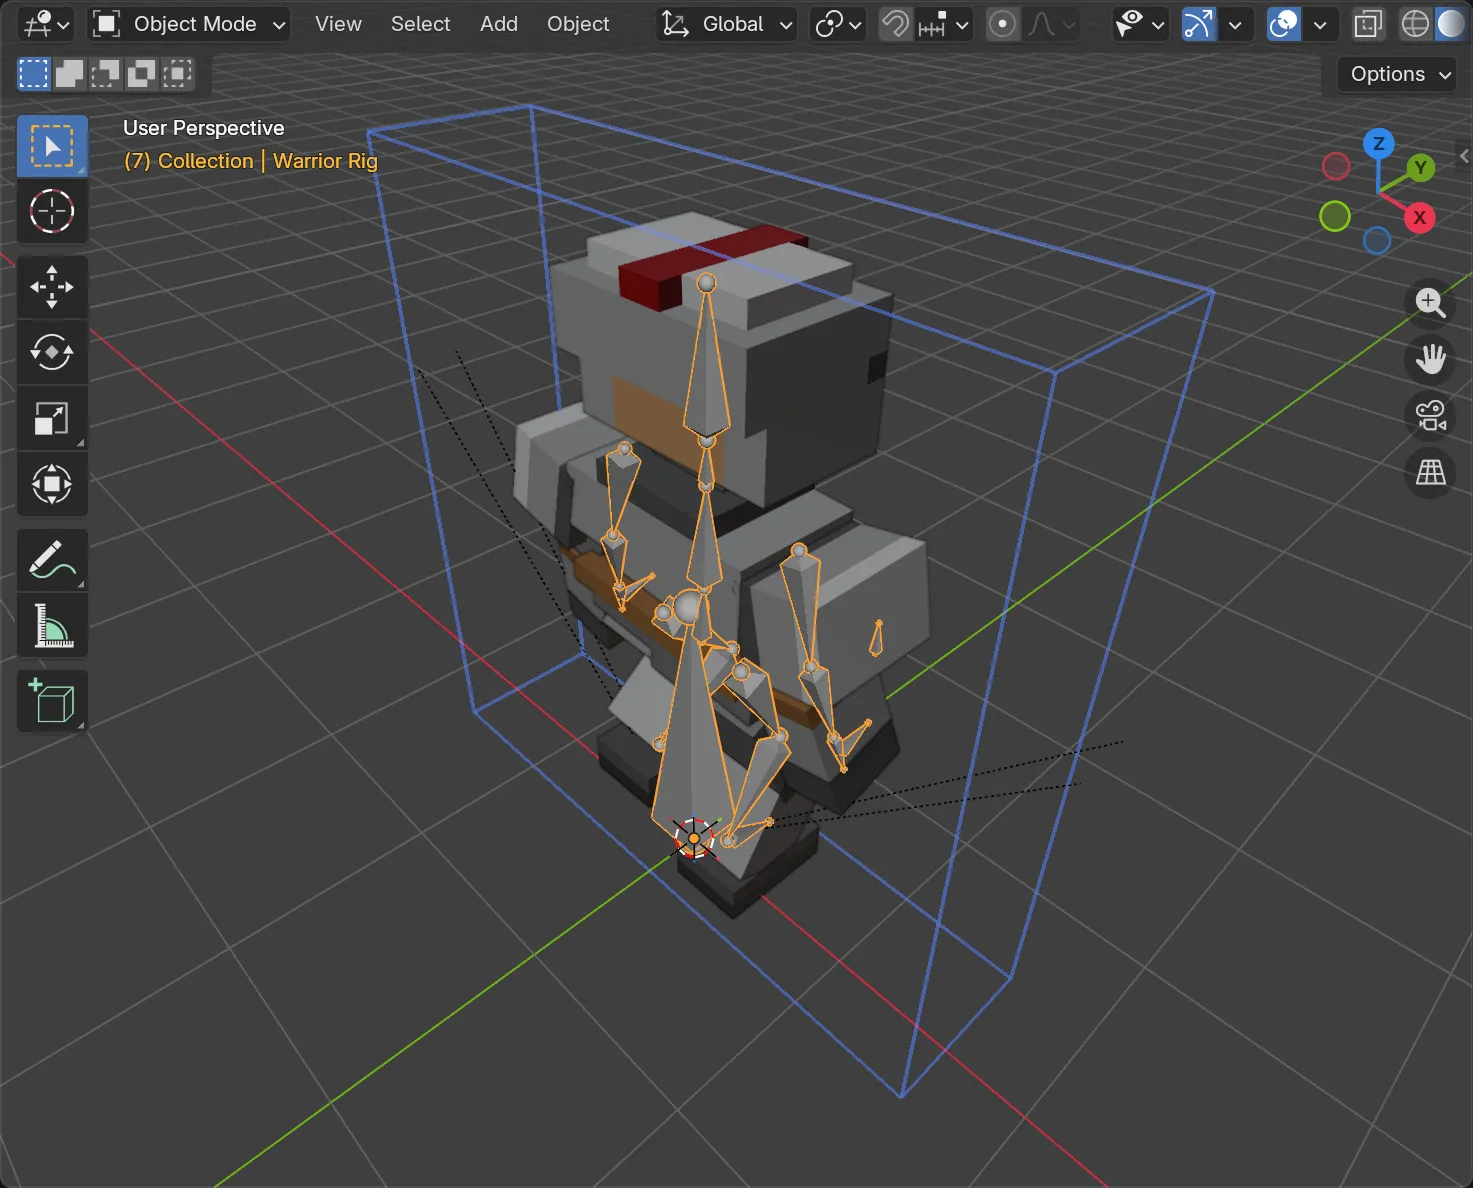
Keep the thigh, shin and foot of each leg centred on the same X. If a foot sticks out further to one side than the shin above it, the knee can’t bend cleanly (see Troubleshooting).
2. Assign the body parts
Section titled “2. Assign the body parts”-
Select the model and open Character. Set Rig Template: Biped (Human).
-
Click Prepare Rig.
-
For each prompt ① (Select the head voxels, and so on), look at the diagram, drag a box with Select Voxels ②, and click Assign … & Continue ④.
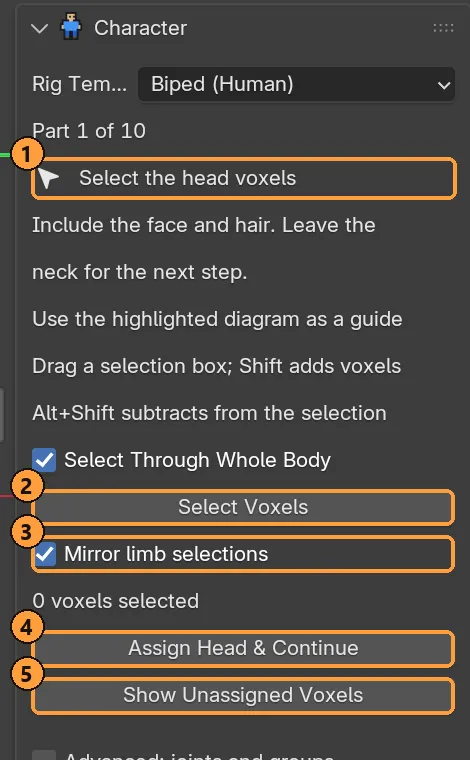
- Front view (Numpad 1) with Select Through Whole Body on is fastest: each box takes the whole depth of the limb.
- Mirror limb selections ③ assigns both sides of an arm or leg at once.
-
After the feet, if the panel says voxels are still unassigned, click Show Unassigned Voxels ⑤ and assign them, or Give Leftovers to Nearest Part.
3. Check the bends
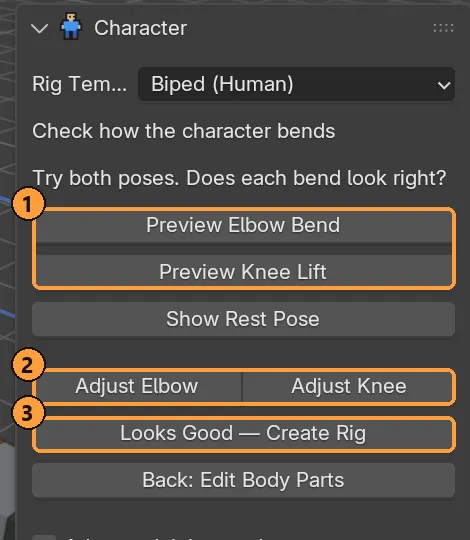
Section titled “3. Check the bends”Click Preview Elbow Bend and Preview Knee Lift ①. If an elbow or knee folds in the wrong place, use Adjust Elbow or Adjust Knee ②, then Drag Bend Point and press Enter. Preview again.
Then click Looks Good — Create Rig ③.
4. Sample animations
Section titled “4. Sample animations”Click Walk ①, then press Space. Try Run, Idle and Jump, and open More Animations ② for the rest: sneak, strafe, punch, kick, block, hits from four sides, death, roar, victory, wave.
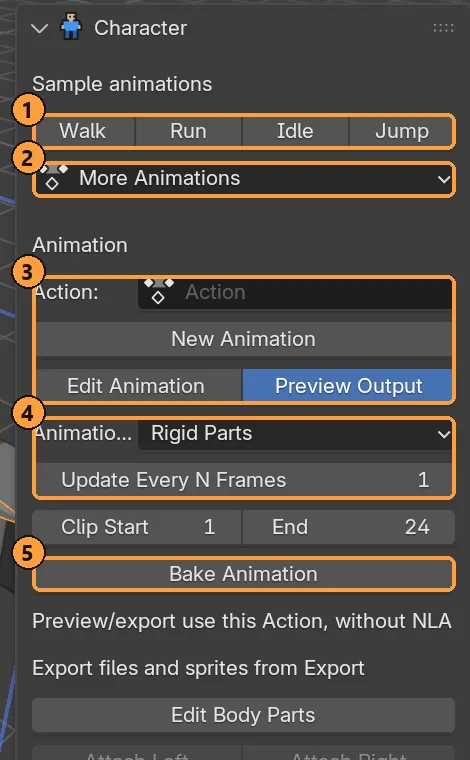
Each click makes a new Action, so nothing you had is replaced. Switch between them in the Action dropdown.
5. Make your own
Section titled “5. Make your own”- Click New Animation, then Edit Animation. The rig opens in Pose Mode.
- Key poses with I as on any Blender rig. The feet have IK: move a foot control and the leg follows.
- Click Preview Output to see the voxels move.
To start from a sample instead, create it and edit its keys. Samples are keyed pose-to-pose with only a few keys, so they’re easy to retime in the Dope Sheet.
6. Choose the look
Section titled “6. Choose the look”These are ④ in the panel above.
- Rigid Parts: every limb turns as a solid block. Exports to FBX and glTF.
- Strict Grid: re-voxelised every frame, so cubes never tilt. Use it for sprites and renders.
- Update Every N Frames set to 2 or 3 gives the stepped look of classic sprite animation.
7. Hold a sword
Section titled “7. Hold a sword”- In Voxel Library ▸ Weapons, click the open (pencil) button on a sword. It opens as its own voxel model.
- In Object Mode, click the sword, then Shift-click the character. A click on the character selects its rig.
- Click Attach Right.
- Move and rotate the sword so it sits in the hand. From then on it follows the grip.
For the best match, paint the sword with the character’s palette.