Groups, parts and rigid rigs
Voxel groups name the parts of a model: head, arm, wheel, door. You build the model as one model, so it shares one palette and everything lines up, and mark where it comes apart. Groups drive three things:
- Finalise into parts: one mesh object per group.
- Rigid rigs: one bone per group, for mechanical animation.
- Scoping: Weathering, the colour generators and Paths & Fields can act on the active group only.
For humanoids, animals and slimes, the guided character rig does all of this for you. This page is the manual route, for anything else: robots, vehicles, doors, spiders.
Making groups
Section titled “Making groups”The quickest way is Ctrl + G in the viewport with some voxels selected. It opens the Voxel Groups menu:
| Entry | Does |
|---|---|
| Assign to New Group | Makes a group from the selection |
| Assign to Active Group | Adds the selection to the active group |
| Remove from Active Group | Takes the selection out of it |
| Select Group | Selects the active group’s voxels |
| Select Ungrouped | Selects every voxel in no group, which is what you still have to assign |
| Set Active Group | Picks which group the other entries act on |
| Clear Active Group | Deselects the active group in the list |
A small confirmation appears bottom-left each time.
The Groups sub-panel (Voxel Mode ▸ Groups) has the same actions as buttons, plus the list:
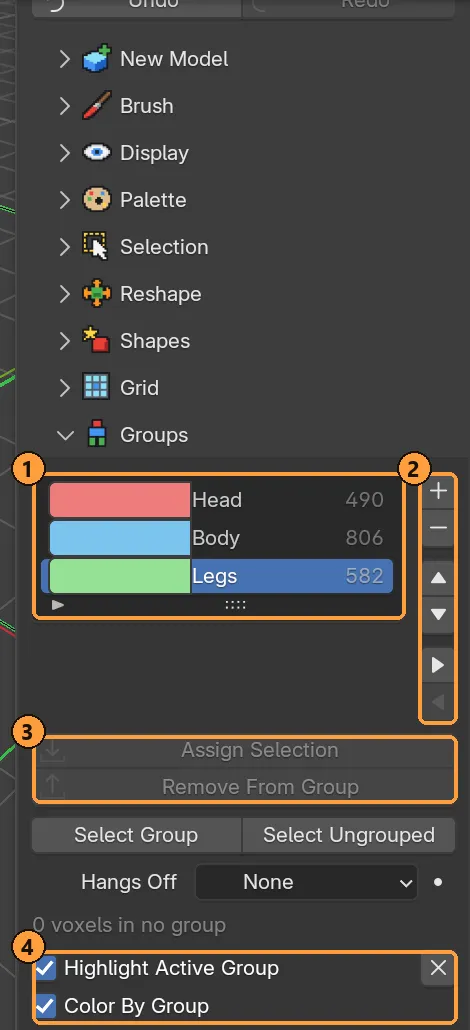
- The list: colour, name and voxel count of each group.
- Add and remove, move up and down, indent and outdent.
- Assign Selection and Remove From Group.
- Highlight Active Group and Color By Group.
- Each row has a colour, a name, and how many voxels the group holds.
- Clicking a row highlights that part in its colour, including an X-ray pass for parts buried inside. It does not change your selection, so you can still assign what you were holding. Highlight Active Group turns it off, and Esc clears it.
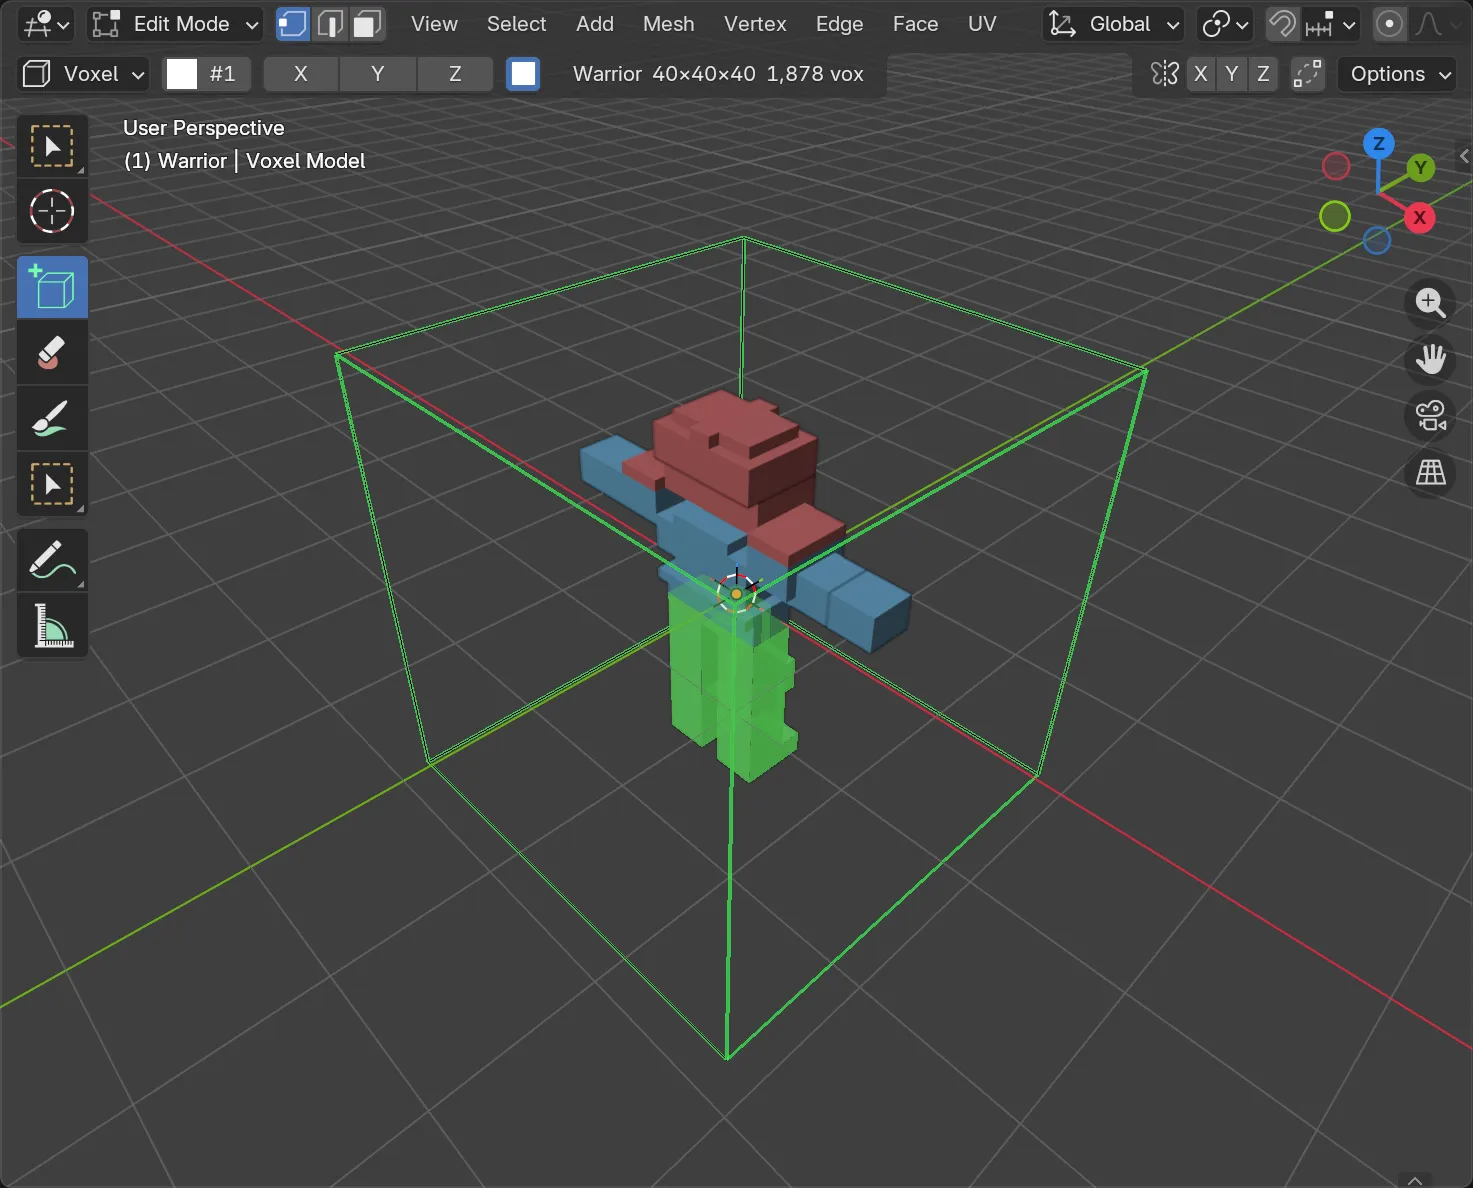
- Color By Group repaints the whole model by group, with ungrouped voxels in grey. It’s the best check before splitting.
- The panel shows how many voxels are in no group.
Hierarchy: what hangs off what
Section titled “Hierarchy: what hangs off what”The list is the skeleton. It is drawn as a tree, indented by depth:
| Button | Does |
|---|---|
| ▲ / ▼ | Move a group among its siblings |
| ▶ (indent) | Hang the group off the row above |
| ◀ (outdent) | Move it one level out |
| Hangs Off | Pick the parent by name |
A hand hangs off a forearm, the forearm off an upper arm, the upper arm off the chest. The hierarchy is declared by you, never guessed from which parts touch, and a loop is impossible to build.
How groups behave while you edit
Section titled “How groups behave while you edit”- Moving or duplicating a selection carries its groups. Build one leg, duplicate it three times, and you have four legs in the same group. Reassign the copies.
- Erasing a voxel and drawing it back puts it back in the part it was in.
- A shape stamped where an old part used to be inherits that part. Color By Group shows it, and one Assign fixes it.
Splitting into parts
Section titled “Splitting into parts”Press Finalise To Mesh and tick One Object Per Group. (It’s only offered when the model has groups.)
- You get one mesh per group, named
<Model>_<Group>, each with its own origin at the centre of its voxels, so a gizmo per part means something. - Where two parts met, both grow a closing wall, so each part is a closed solid.
- Voxels in no group become one more part,
<Model>_Unassigned, with a warning. They are never guessed into a neighbour. - Keep Voxel Model leaves the editable model in the scene, so you can change it and finalise again.
Building a rigid rig from your groups
Section titled “Building a rigid rig from your groups”In the same Finalise dialog, also tick Build Rig:
| Option | Meaning |
|---|---|
| Rig Type: Rigid Parts | Keeps one object per part, each parented to its bone. The nicest to pose, and nothing can deform. |
| Rig Type: Single Skinned Mesh | Joins the parts into one mesh with each part 100% weighted to its bone. It moves identically, and it’s the form Unreal imports as a Skeletal Mesh. |
| Root Bone | A non-deforming root at the origin. Unreal’s retargeting and root motion expect one. |
| Connect Bones | Each bone’s tail reaches towards the part it hangs off, so the skeleton reads as a chain |
Bones are placed touching but unconnected, so a part can still slide (a jaw, a piston, a drawer) as well as turn.
Rig (Advanced) ▸ Preview Rig draws the skeleton over the model before you finalise. It’s drawn by the same code that builds the real rig, so what you preview is what you get.
Coming back
Section titled “Coming back”Changed your mind after splitting? Select the parts and use Finalise To Mesh again. It works in the other direction too, rebuilding one editable model with Groups From Objects making each part its group again. See Import and convert.