Rig a custom object from your own groups
You will make: a chest with its lid on its own bone, so it can be animated opening and closing. You will learn: grouping for a rig rather than a split, Rig Type (Rigid Parts vs. Single Skinned Mesh), Root Bone, Connect Bones, and Preview Rig. Time: 10 minutes.
The guided character rig builds its own groups and its own bones for you. This is the manual route underneath it — the one to reach for on anything that isn’t a character: a chest, a door, a gearbox, a spider. If you haven’t grouped a model before, Select, group and split a model covers the grouping half of this in more depth.
1. Something with moving parts
Section titled “1. Something with moving parts”Model or place a shape with at least two parts that should move independently — a chest with a separate lid is the clearest example, since “the lid opens” is an obvious, checkable result. Shift + A and browse to Props ▸ Containers for a ready-made chest, or build a simple box with a lid slab on top.
2. Group the parts that will move
Section titled “2. Group the parts that will move”-
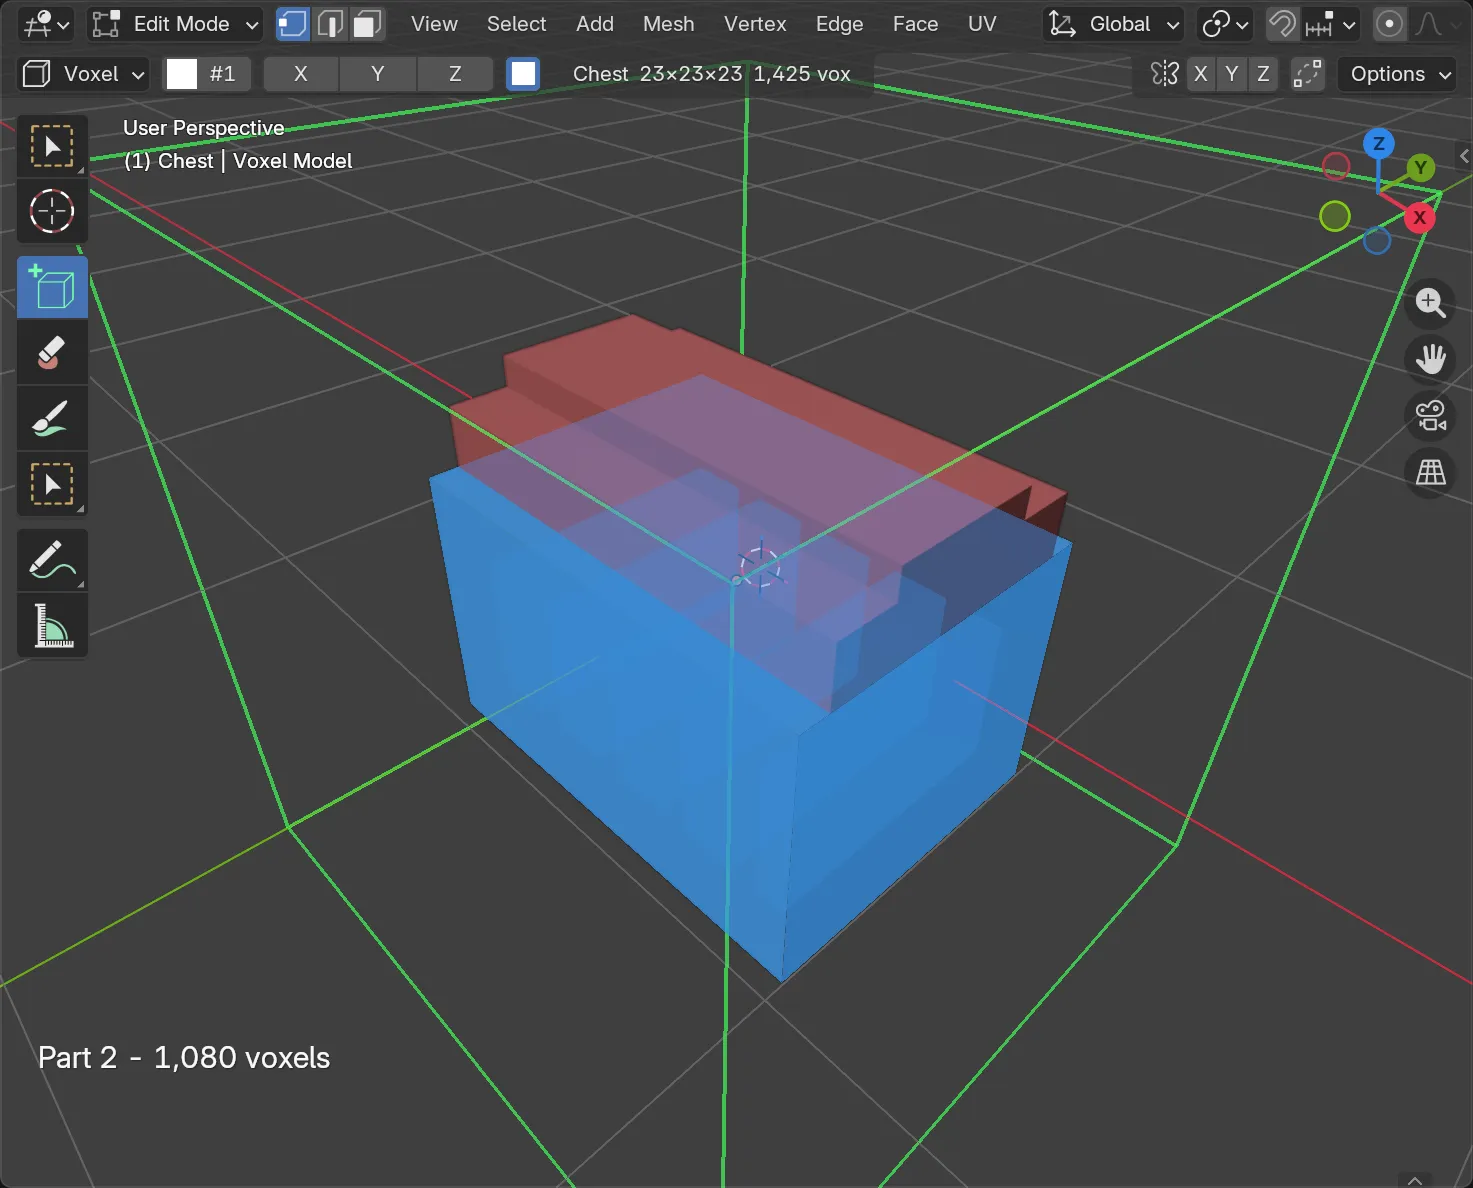
B-drag the lid. Press Ctrl + G ▸ Assign to New Group, and rename the row
Lidin Voxel Mode ▸ Groups. -
Select what’s left. Ctrl+G ▸ Assign to New Group again, rename it
Body. -
Turn on Colour By Group to check nothing was missed — any grey voxel is still ungrouped.
Unlike a character rig, there’s no hierarchy to declare here — both parts hang directly off the root. For something with a parent-child relationship (a hand off a forearm, say), click the part in the Groups list and set Attached To in Rig (Advanced); see Groups, parts and rigid rigs.
3. Preview before committing
Section titled “3. Preview before committing”Rig (Advanced), further down the Voxel Mode panel, shows Preview Rig: turn it on and the skeleton draws over the model before you finalise anything, built by the same code that builds the real rig — what you preview is what you get. It also reports the bone count and flags any group that loops back on itself, which the operator would otherwise refuse.
4. Finalise with Build Rig
Section titled “4. Finalise with Build Rig”Press Finalise To Mesh. Tick both:
- One Object Per Group — splits the chest into
Chest_LidandChest_Body, each its own mesh with its own origin at the centre of its own voxels. - Build Rig — and underneath it:
| Option | This tutorial | Meaning |
|---|---|---|
| Rig Type | Rigid Parts | Keeps one object per part, parented to its bone — easiest to pose, nothing bends. Single Skinned Mesh joins the parts into one mesh instead, which is the form Unreal imports as a Skeletal Mesh. |
| Root Bone | On | A non-deforming root at the origin. Unreal’s retargeting and root motion both expect one. |
| Connect Bones | On | Each bone’s tail reaches toward the part it hangs off, so the skeleton reads as a chain rather than loose stubs. |
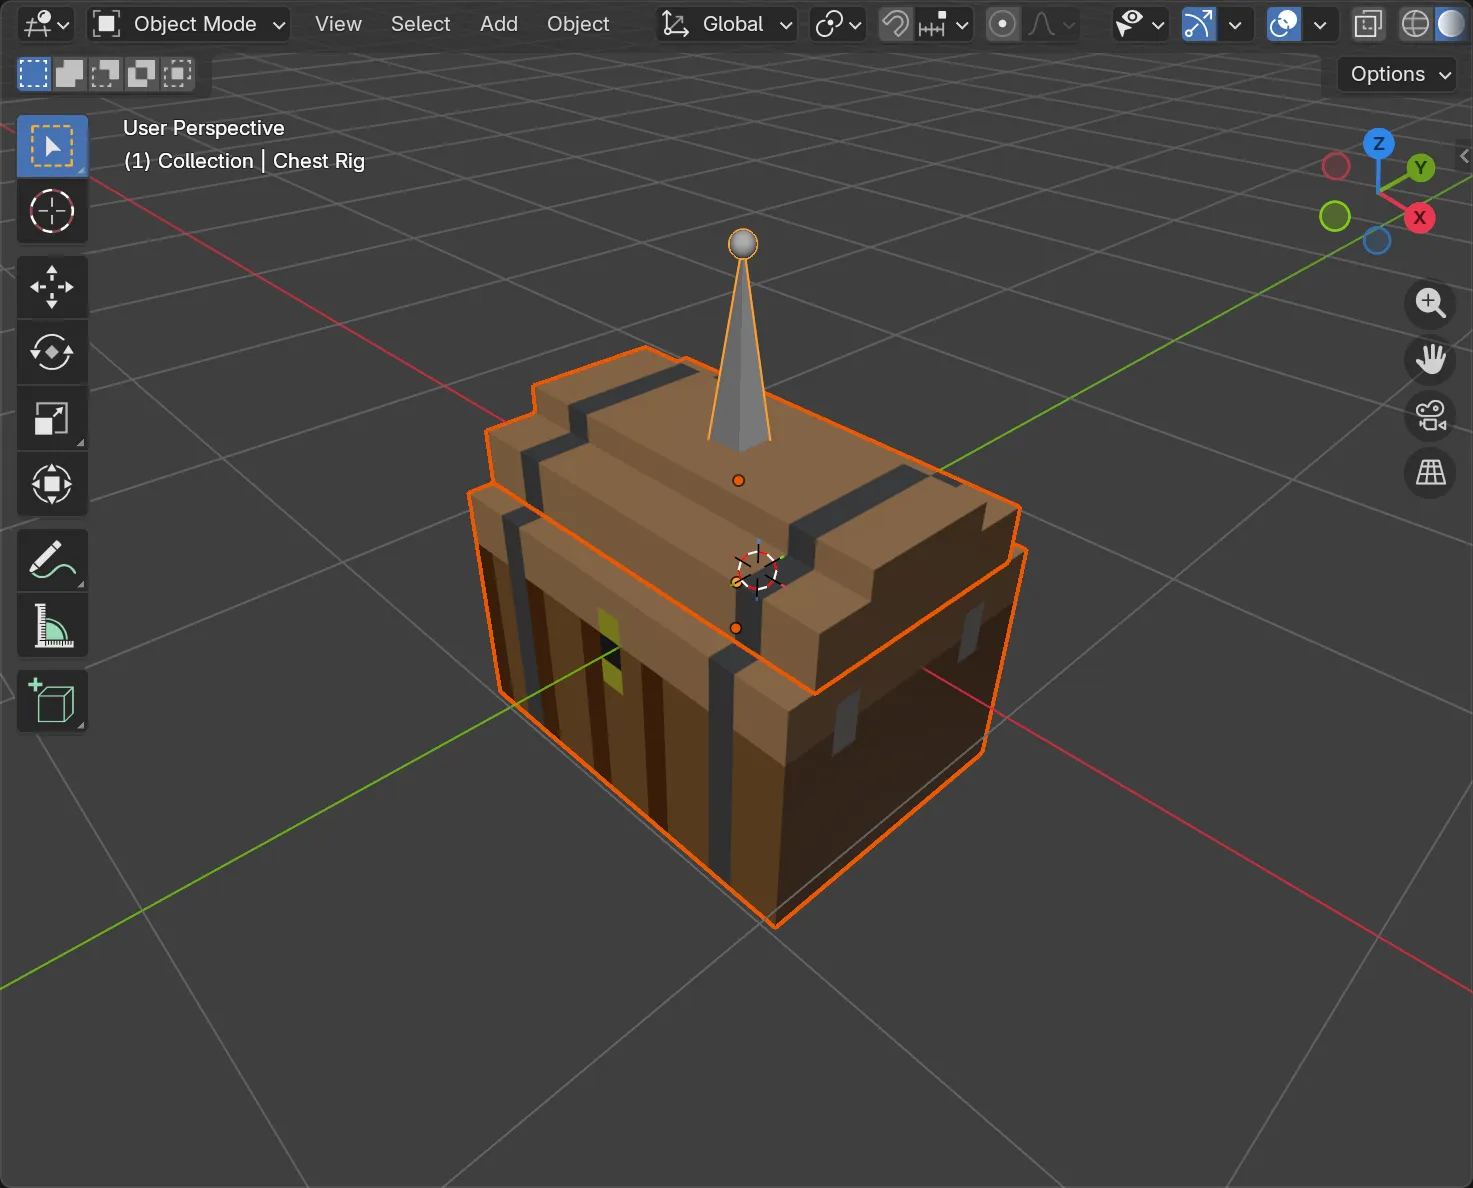
Confirm. You now have an armature with one bone per part — Lid and Body, both off the root — and each mesh parented to its own bone.
5. Pose it
Section titled “5. Pose it”Select the armature, enter Pose Mode, and rotate the Lid bone. The lid swings on its own, independent of the body — that’s the whole payoff of grouping before finalising rather than after.
Bones are placed touching but unconnected in the Blender sense, so a part can still slide as well as turn — useful for a drawer or a piston, not just a hinge.
6. Coming back
Section titled “6. Coming back”Changed your mind about the grouping? Select the parts and Finalise To Mesh again — Groups From Objects rebuilds one editable voxel model with each part as its group once more, and you can regroup and refinalise from there.
- Groups, parts and rigid rigs for the full hierarchy reference and what happens as you keep editing a grouped model.
- Select, group and split a model for the selection tools this tutorial assumed.
- Export to a game engine once the rig is built — Rigid Parts and Single Skinned Mesh both export.